Classic Jam Drops Recipe | Buttery Jam Cookies with Tender Crumb
Some cookies just taste like childhood. These classic jam drops deliver that buttery aroma, a tender crumb that melts in your mouth, and a jewel-bright center of jam that makes everyone smile. If you want a simple, reliable cookie that looks charming on a plate and disappears fast, this is it.
I’ll show you how to get perfectly soft, buttery cookies with neat jam centers that don’t leak or burn. Expect clear steps, practical tips, and options for different jams. Grab a mixing bowl and a spoon—you can bake these any time a craving hits.
Why These Buttery Jam Cookies Turn Out So Good
- Soft, tender texture: A precise butter-to-flour ratio creates a delicate crumb that stays soft for days.
- Balanced sweetness: The dough tastes buttery, not sugary, so the jam shines without overwhelming the cookie.
- No spread guarantee: A short chill helps the cookies keep their shape and hold a tidy well for the jam.
- Everyday pantry ingredients: You likely have everything on hand—no special equipment needed.
- Customizable centers: Use your favorite jams, curds, or even a touch of chocolate for endless variety.
Ingredients
- Unsalted butter (room temperature): 1 cup (225 g). Soft butter creams easily and builds structure and flavor.
- Granulated sugar: 2/3 cup (135 g). Sweetens without weighing the dough down.
- Egg yolk: 1 large. Adds richness and tenderness.
- Vanilla extract: 2 teaspoons. Rounds out the buttery flavor.
- All-purpose flour: 2 cups (250 g), spooned and leveled. Provides body while keeping the crumb delicate.
- Fine salt: 1/4 teaspoon. Balances the sweetness.
- Baking powder: 1/2 teaspoon. Offers a tiny lift for a soft bite.
- Jam of choice: 1/2 cup. Choose a thick, high-pectin jam like raspberry, strawberry, or apricot.
- Optional: 1–2 teaspoons lemon zest for brightness, or 1 tablespoon milk if dough feels dry.
How to Make Buttery Jam Drops with Tender Crumb
1) Prep and preheat
- Preheat oven: 350°F (175°C). Line two baking sheets with parchment.
- Firm up your jam: If your jam looks runny, stir in 1 teaspoon cornstarch or microwave 10–15 seconds to thicken, then cool. A thicker jam prevents spreading.
2) Make the dough
- Cream butter and sugar: Beat the butter and sugar for 2–3 minutes until pale and fluffy. Scrape the bowl.
- Add egg yolk and vanilla: Mix until fully combined and silky.
- Combine dry ingredients: Whisk flour, salt, and baking powder in a separate bowl.
- Bring together: Add dry ingredients to the butter mixture. Mix on low until the dough forms soft clumps. If dry, add milk, 1 teaspoon at a time, until it holds together.
- Chill briefly: Cover and chill 15–20 minutes. This helps cookies keep their shape.
3) Shape and fill
- Roll: Scoop 1 tablespoon portions and roll into smooth balls. Place 2 inches apart on the prepared sheets.
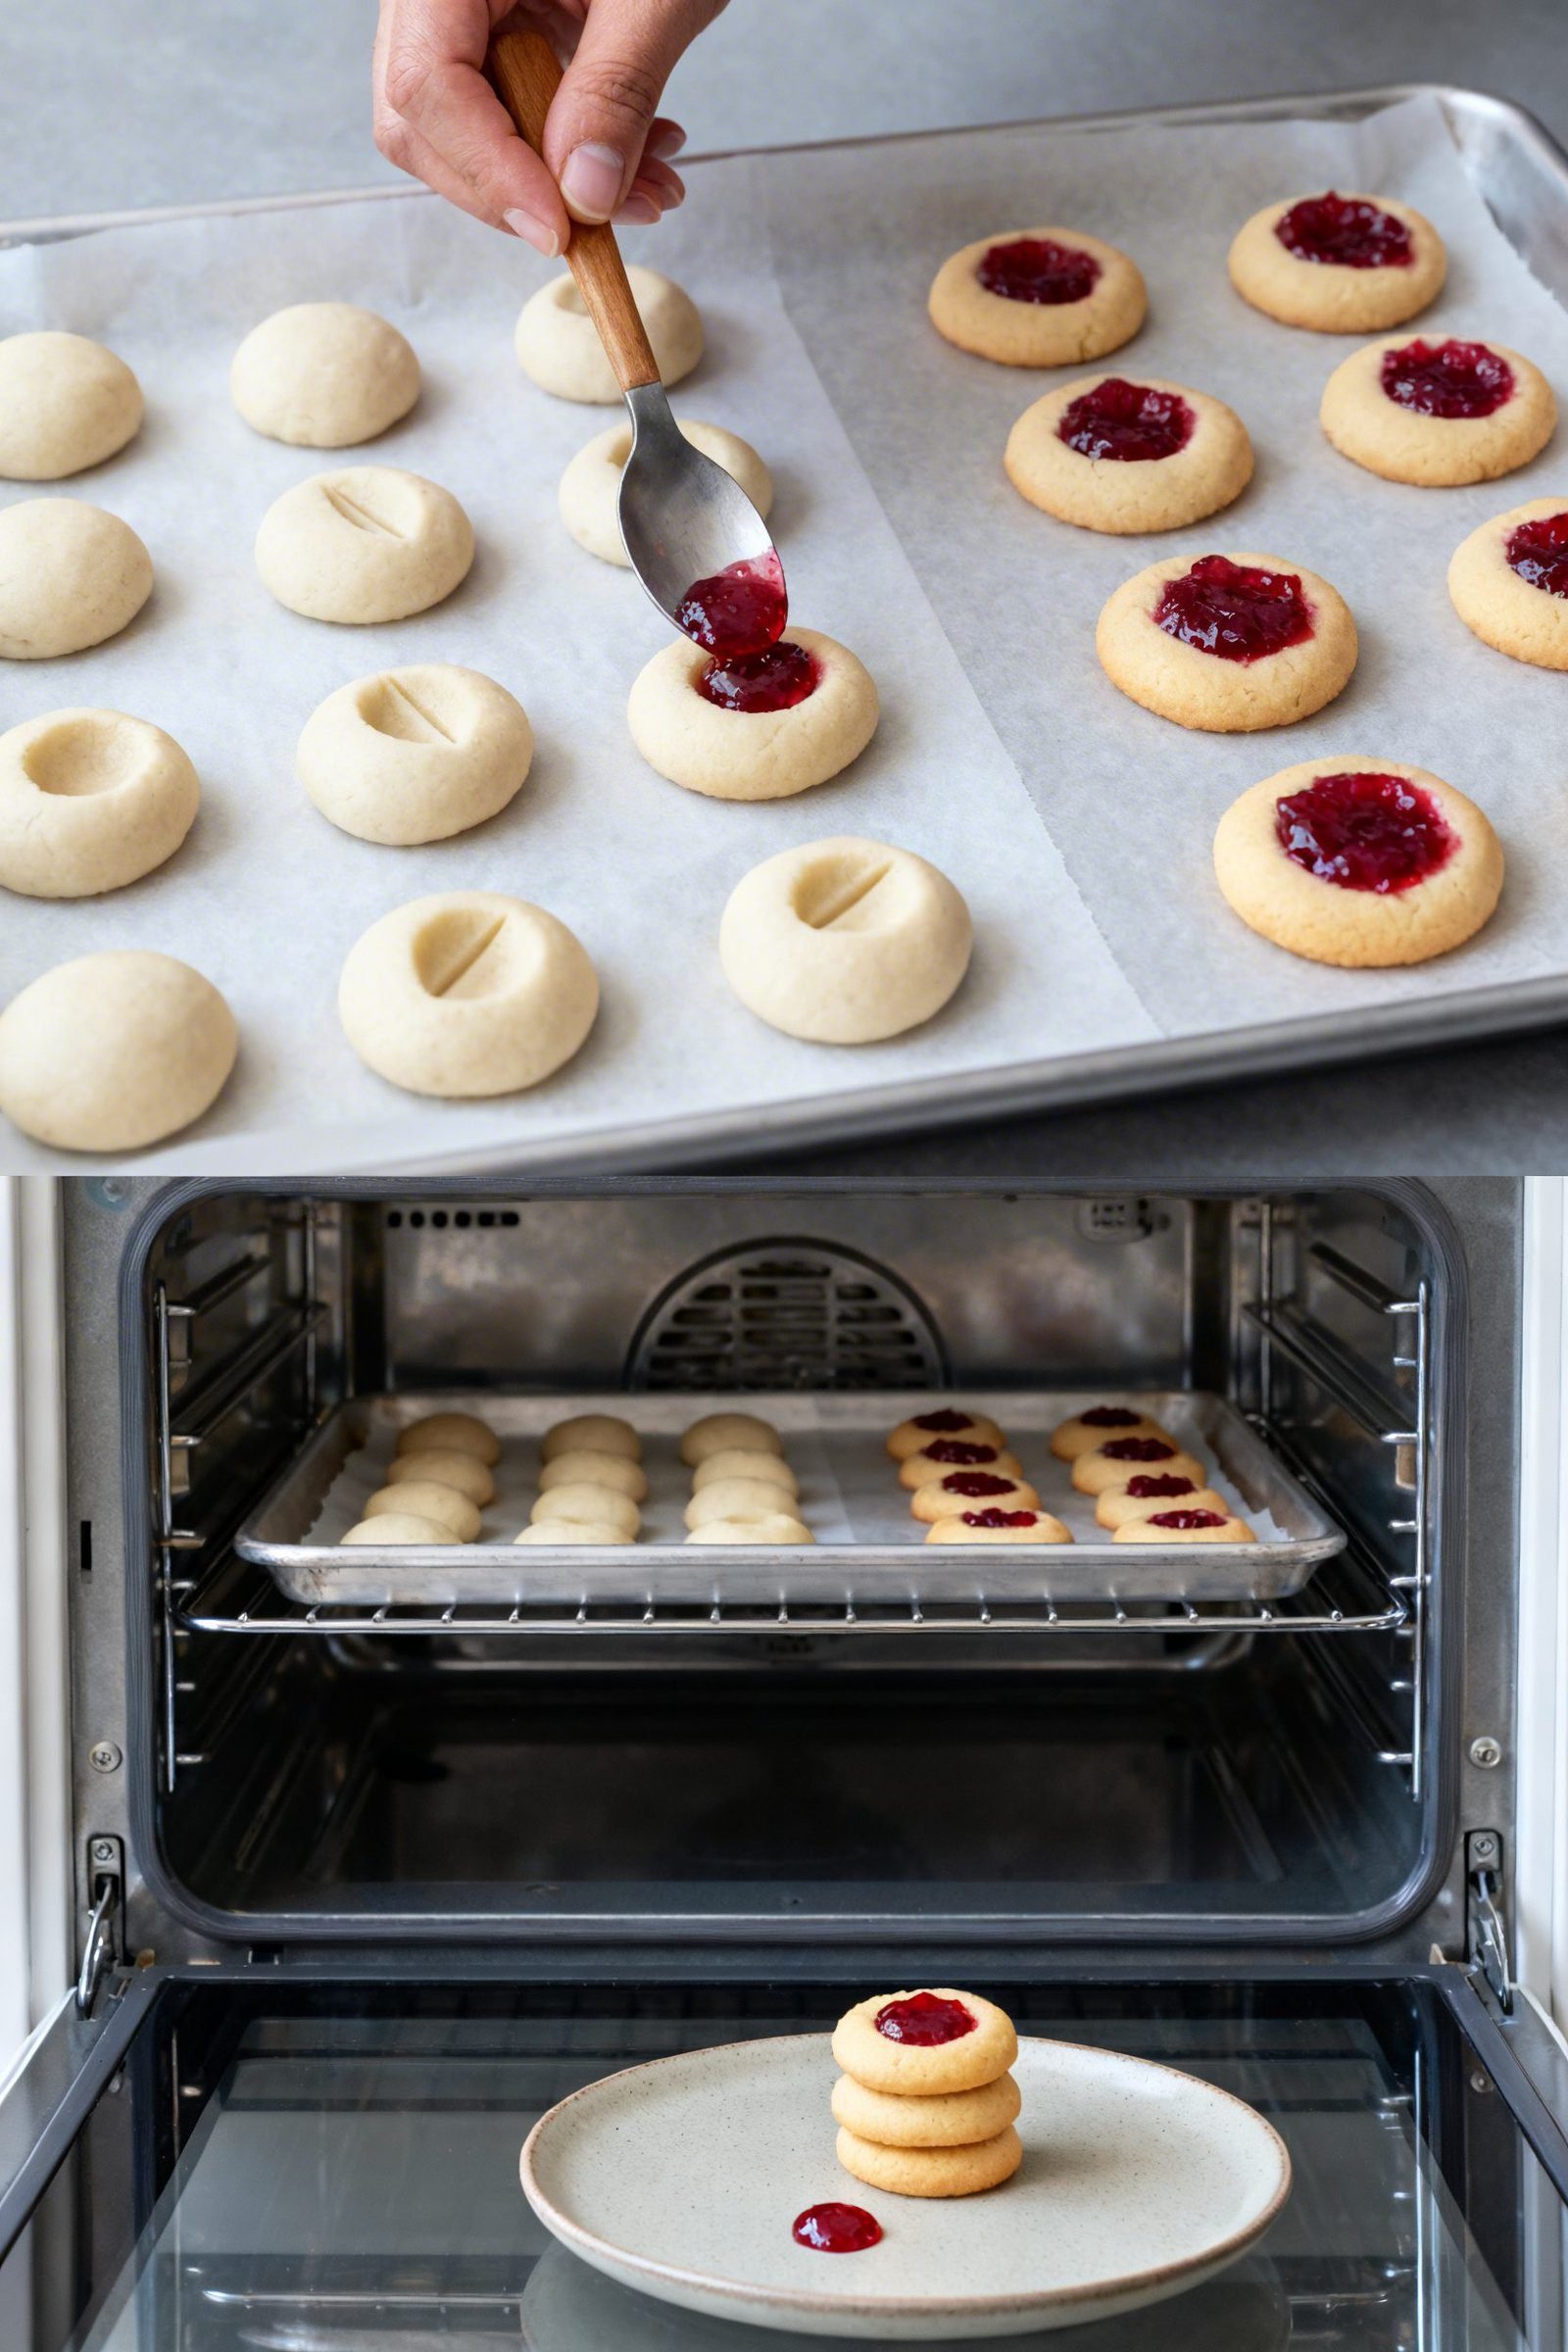
- Indent: Use your thumb or the handle of a wooden spoon to press a well in the center of each ball. Re-shape any large cracks with your fingers.
- Fill: Spoon about 1/2 teaspoon jam into each well. Do not overfill—you want the jam level with the rim, not domed.
4) Bake and cool
- Bake: 10–12 minutes, rotating the pan once, until the bottoms look lightly golden and the edges set. The tops should stay pale.
- Set the centers: If the wells puff slightly, use the spoon handle to gently nudge them back right out of the oven, then add a touch more jam if needed.
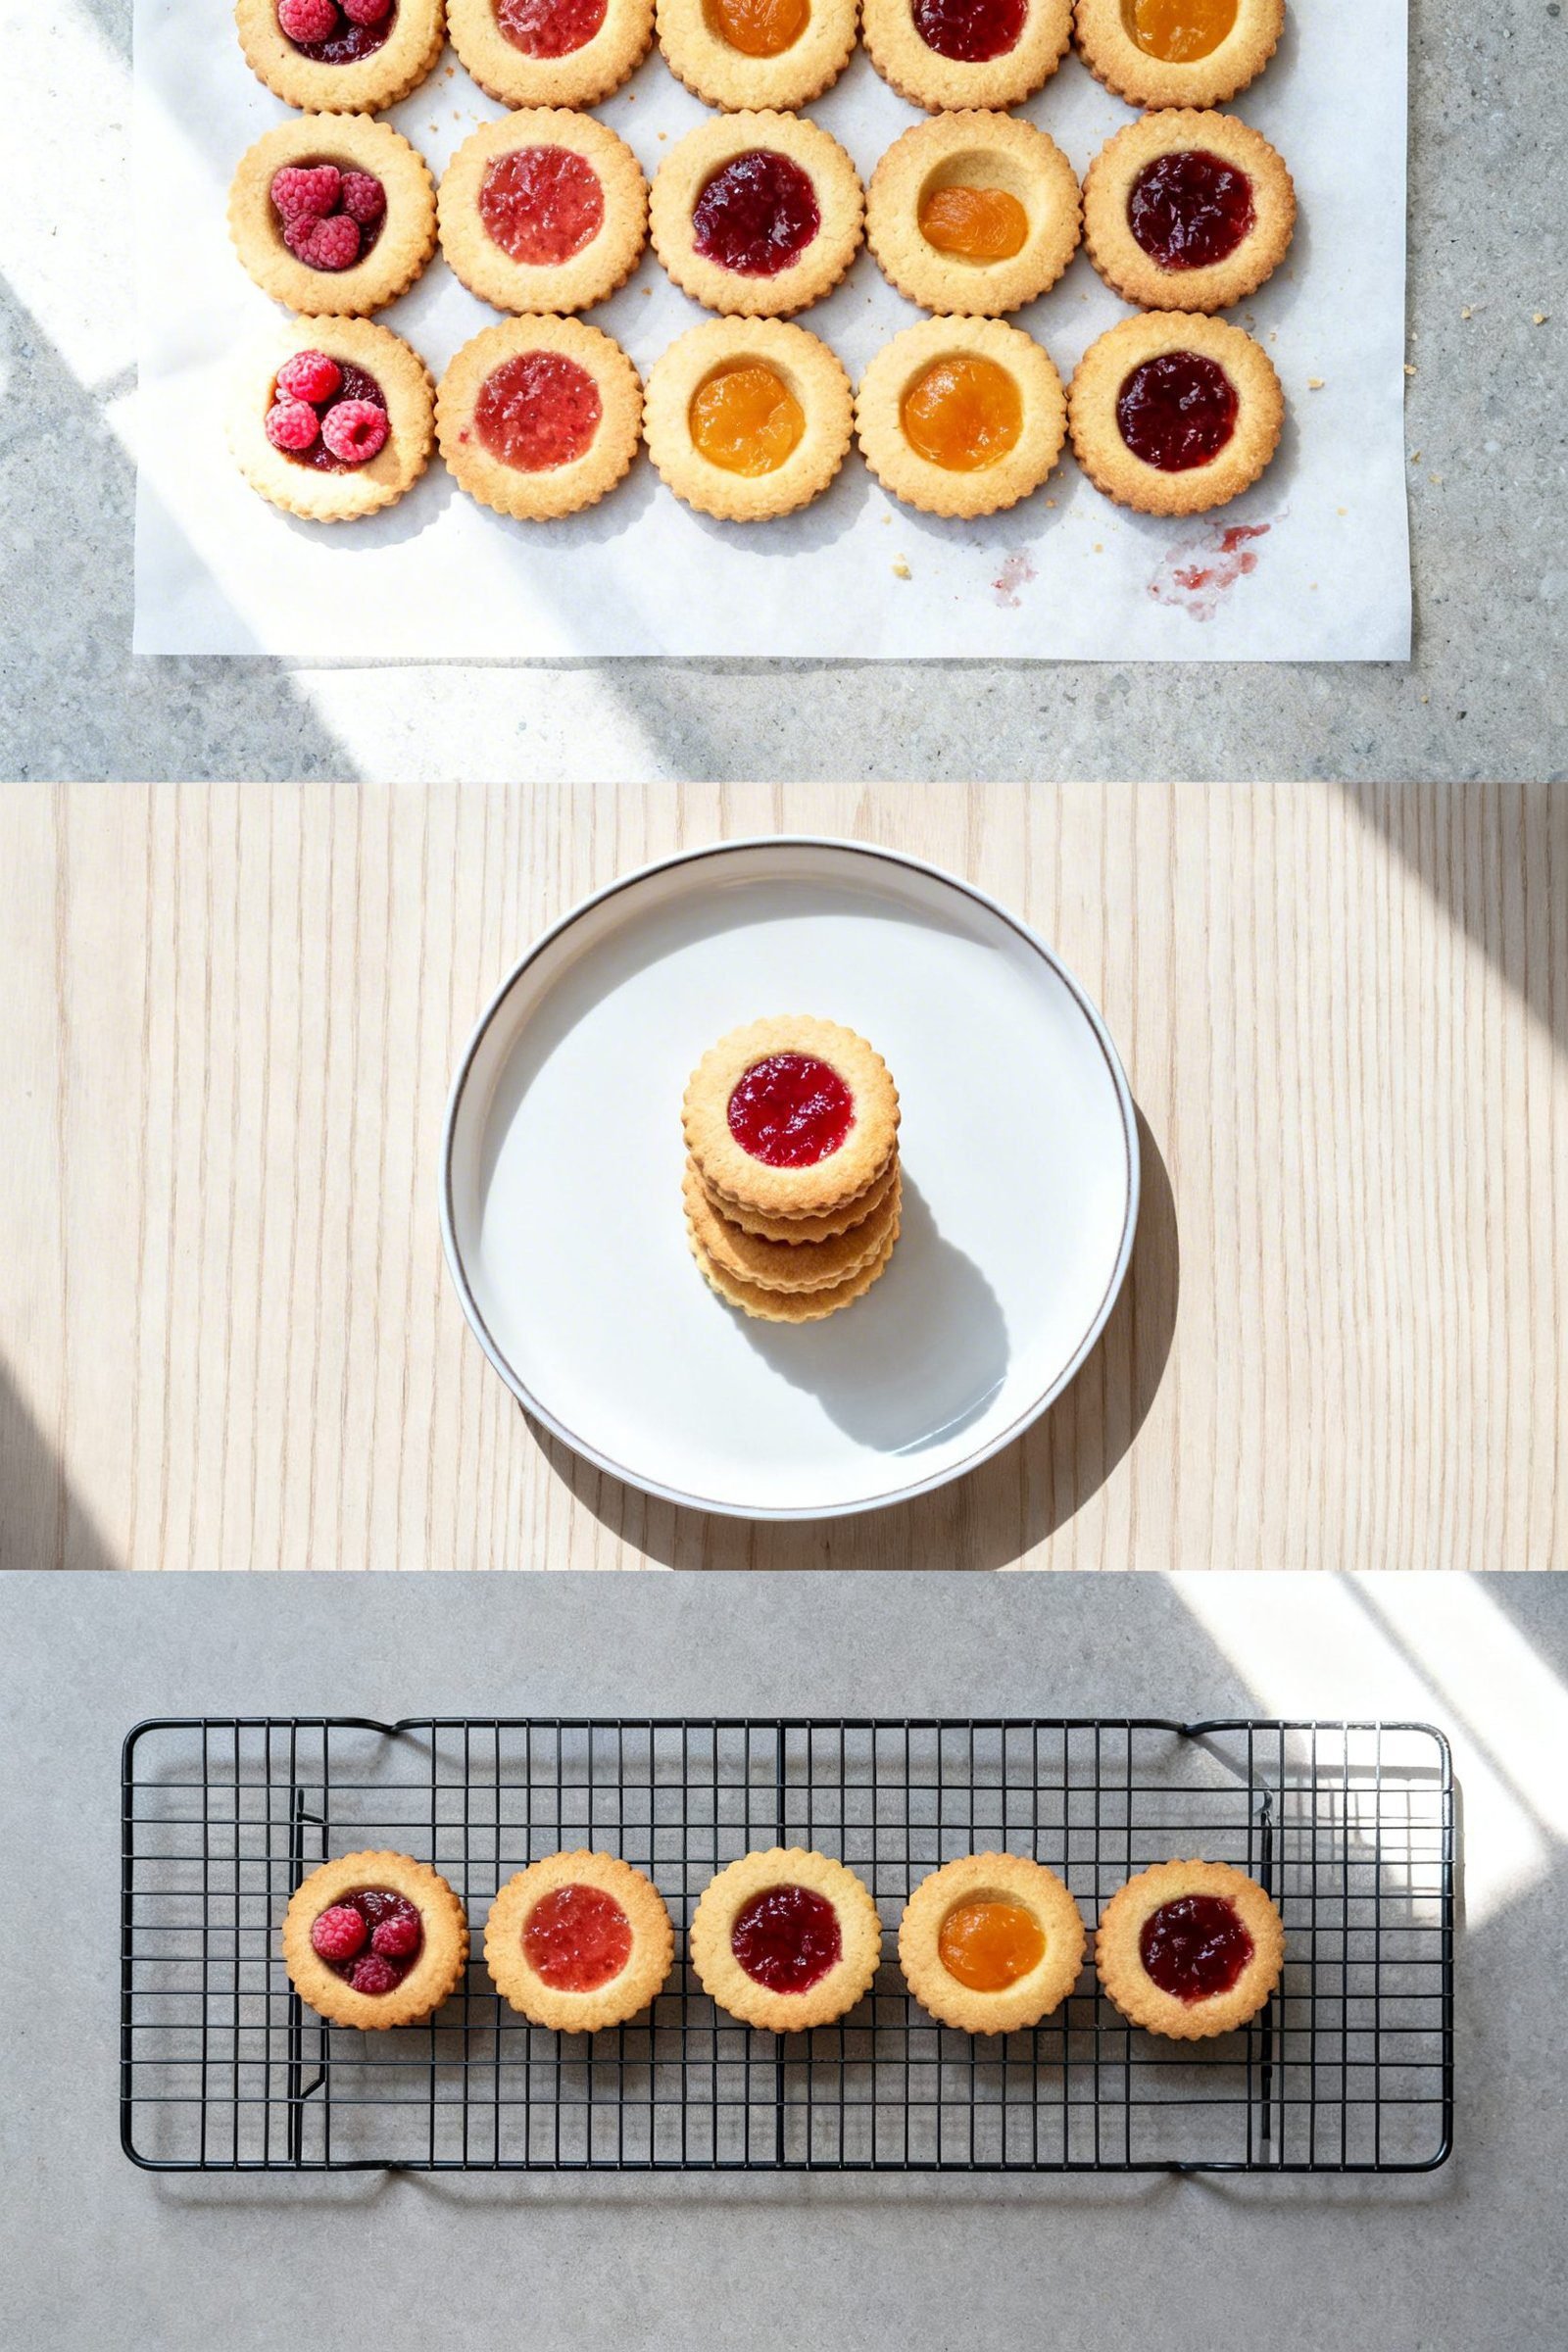
- Cool: Let cookies rest 5 minutes on the sheet, then move to a rack to cool completely so the jam sets.
How to Store These Jam-Filled Cookies
- Room temperature: Store in an airtight container for 4–5 days. Place parchment between layers to protect the jam centers.
- Refrigerator: Keep up to 1 week if your kitchen runs warm. Bring to room temp before serving.
- Freezer (baked): Freeze in a single layer until solid, then transfer to a bag for up to 2 months. Thaw at room temperature.
- Freezer (unbaked): Shape, indent, and freeze the dough balls without jam. Bake from frozen, adding 1–2 minutes, then fill mid-bake or right after baking.
Benefits of Baking Classic Jam Drops at Home
- Freshness you can taste: Home-baked cookies keep that just-cooled texture and bright jam flavor.
- Simple ingredients: You control the sweetness, the quality of butter, and the jam.
- Flexible for any season: Swap in whatever fruit spread you love or have on hand.
- Kid-friendly project: Rolling dough and adding jam makes a fun, low-mess activity.
- Perfect for gifting: They look pretty, travel well, and stay soft for days.
What to Avoid for Best Results
- Don’t skip the chill: Warm dough spreads and loses the well shape.
- Avoid runny jam: Thin jam leaks and burns. Use thick jam or reduce it slightly on the stove.
- Don’t overbake: Pale tops signal tenderness. Deep golden tops mean a dry crumb.
- Don’t pack the flour: Spoon and level. Packed flour makes dense, crumbly cookies.
- Don’t overfill: Too much jam bubbles over. Keep it level with the rim.
- Don’t skip salt: A pinch sharpens the buttery flavor and balances sweetness.
Fun Variations to Try
- Almond twist: Add 1/2 teaspoon almond extract to the dough and use cherry or raspberry jam. Sprinkle with sliced almonds before baking.
- Lemon poppy: Add 1 tablespoon lemon zest and 2 teaspoons poppy seeds. Fill with lemon curd after baking.
- Spice pantry: Mix in 1/2 teaspoon cinnamon and a pinch of cardamom. Use apricot jam.
- Coconut snow: Roll dough balls in finely shredded coconut before indenting. Bake and fill with pineapple jam.
- Chocolate center: Fill with a small spoonful of chocolate hazelnut spread or ganache after baking.
- Gluten-free option: Use a 1:1 gluten-free flour blend with xanthan gum and add 1 extra teaspoon milk if needed.
FAQ
Why did my jam spread or burn?
Thick jam matters. Use a high-pectin, thick jam or briefly simmer runny jam to reduce it. Keep the jam level with the rim and bake at 350°F to prevent scorching.
How do I keep the wells from cracking?
Indent smoothly. Roll very smooth balls, press gently with a rounded tool, and patch tiny cracks with your fingers. Chill dough 15–20 minutes first.
Can I make the dough ahead?
Yes. Refrigerate dough up to 48 hours or freeze portions up to 2 months. Soften slightly before shaping so it doesn’t crack.
Which jam tastes best?
Raspberry and apricot shine because they’re tart and set well. Strawberry works too—choose a thick brand with visible fruit.
My cookies look pale—are they done?
Probably. These cookies should look pale on top with lightly golden bottoms. Check at 10 minutes and extend to 12 if needed.
Can I double the recipe?
Absolutely. Bake one tray at a time for even browning and rotate halfway through.
Conclusion
Classic jam drops bring out the best of simple baking: buttery dough, tender crumb, and a sparkling jam center. With a quick chill, a neat indent, and thick, flavorful jam, you’ll pull a tray of cookies from the oven that hits every nostalgic note. Bake a batch today, stash a few in the freezer for later, and enjoy that perfect, melt-in-your-mouth bite whenever you want.
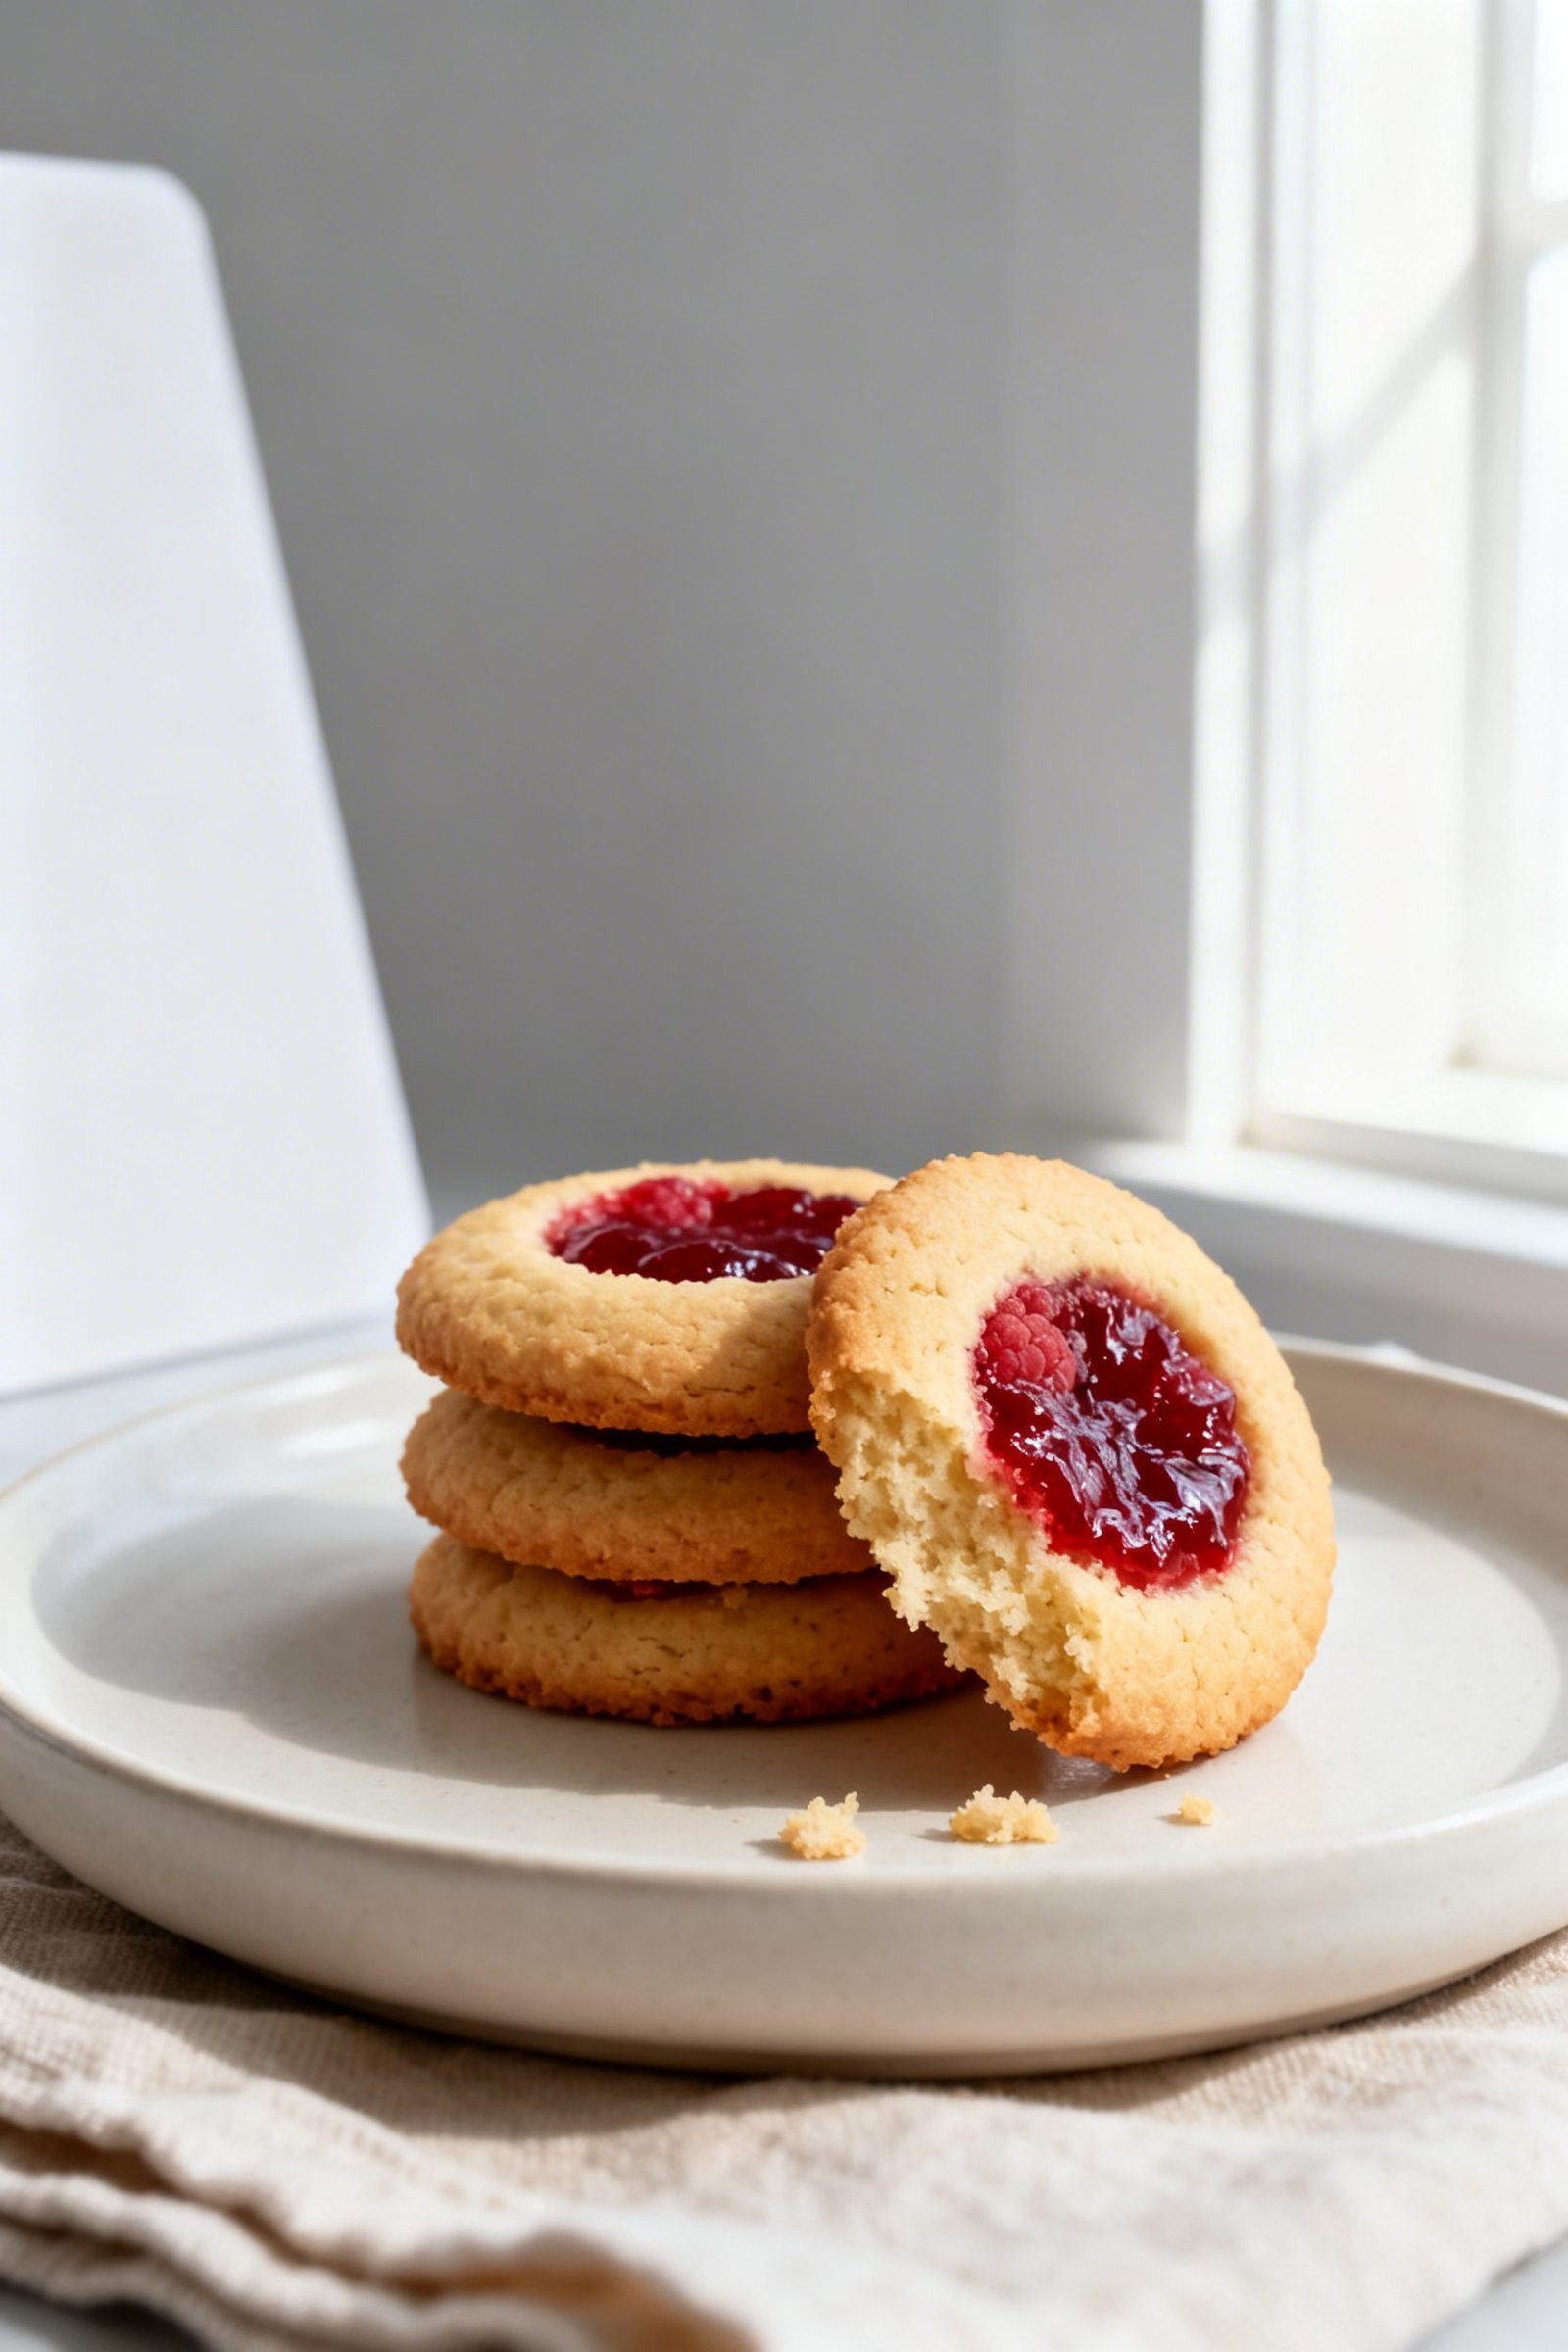
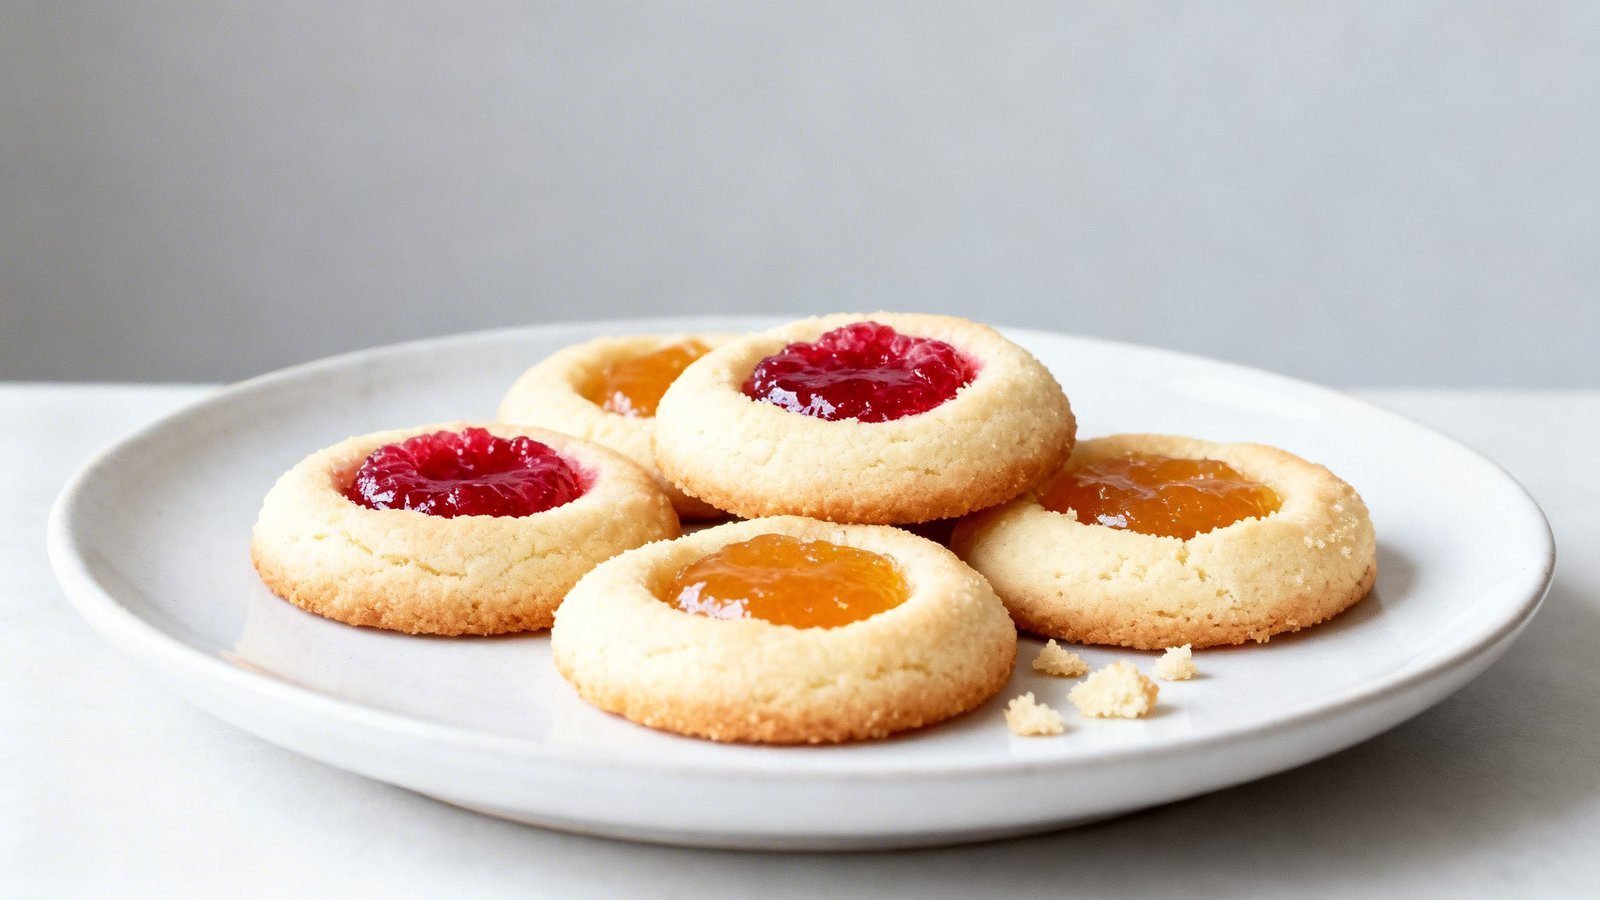
Classic Jam Drops (Buttery Jam Cookies)
Soft, buttery thumbprint cookies with a tender crumb and tidy, jewel-bright jam centers.
Ingredients
- 1 cup (225 g) unsalted butter, room temperature
- ⅔ cup (135 g) granulated sugar
- 1 large egg yolk
- 2 teaspoons vanilla extract
- 2 cups (250 g) all-purpose flour, spooned and leveled
- ¼ teaspoon fine salt
- ½ teaspoon baking powder
- ½ cup thick jam (raspberry, strawberry, or apricot)
- Optional: 1–2 teaspoons lemon zest
- Optional: Up to 1 tablespoon milk if dough feels dry
- Optional for runny jam: 1 teaspoon cornstarch
Instructions
- Preheat oven to 350°F (175°C) and line two baking sheets with parchment.
- If jam is runny, thicken by stirring in 1 teaspoon cornstarch or microwaving 10–15 seconds; cool.
- Beat butter and sugar 2–3 minutes until pale and fluffy; scrape bowl.
- Mix in egg yolk and vanilla until fully combined.
- Whisk flour, salt, and baking powder in a separate bowl.
- Add dry ingredients to butter mixture and mix on low until soft clumps form; if dry, add milk 1 teaspoon at a time until it holds together.
- Cover dough and chill 15–20 minutes.
- Scoop 1-tablespoon portions, roll into smooth balls, and place 2 inches apart on sheets.
- Indent centers with a thumb or spoon handle; smooth any cracks.
- Fill each well with about ½ teaspoon jam, keeping it level with the rim.
- Bake 10–12 minutes, rotating once, until bottoms are lightly golden and edges set; tops remain pale.
- If wells puff, gently press them back immediately after baking and add a touch more jam if needed.
- Cool 5 minutes on the sheet, then transfer to a rack to cool completely so the jam sets.