Budget-Friendly Gummy Bear Recipe | Homemade Jello Gummies Candy
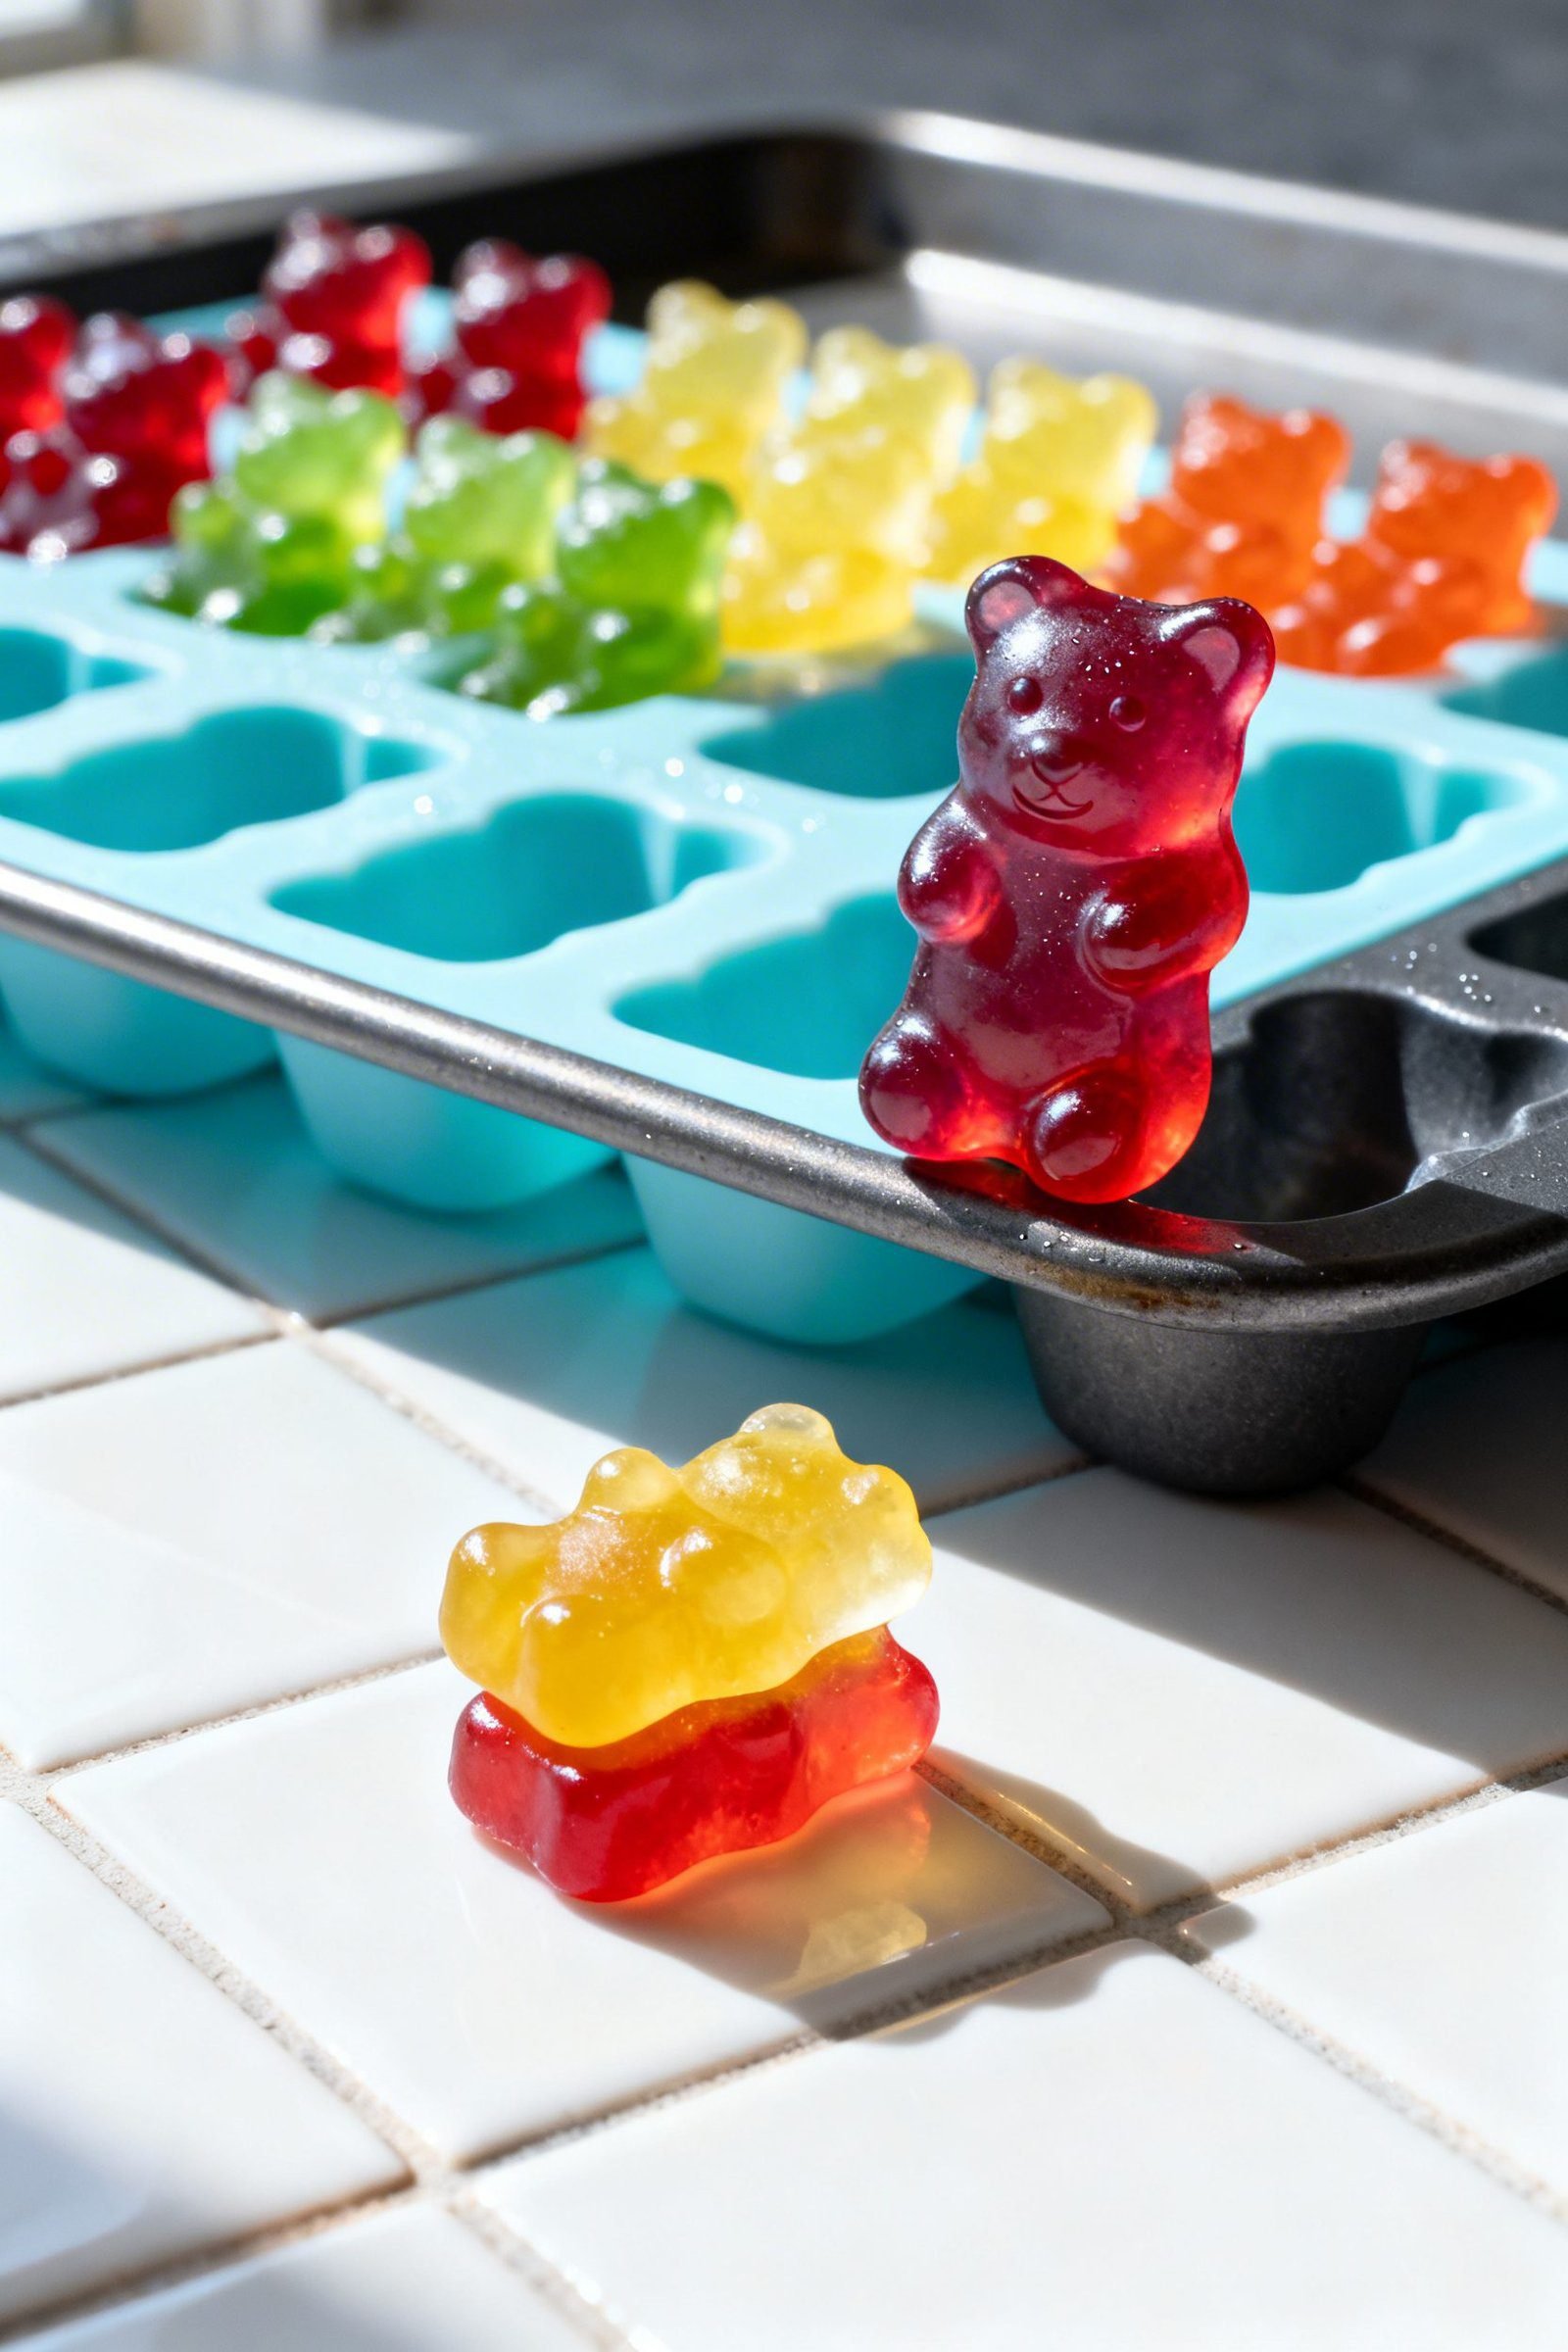
You can make bright, bouncy gummy bears at home with just a few pantry staples and a couple of silicone molds. These homemade Jello gummies taste like your favorite candy, cost a fraction of store-bought bags, and you control the sweetness and ingredients.
I’ll show you a foolproof method that sets up quickly, releases cleanly from molds, and delivers that chewy, satisfying bite. Expect simple steps, quick chill time, and tons of flavor options so you can customize your perfect batch.
Why This Easy Homemade Gummy Bear Recipe Works
You want chewy, flavorful gummies that don’t melt or turn sticky. This method nails it because we balance flavored gelatin with plain gelatin for structure, then add a touch of acid and sweetener to round out the taste.
- Great texture: Extra unflavored gelatin builds a firm, springy bite that feels like classic gummies.
- Budget-friendly: A couple of small packets of gelatin and a box of Jell-O make dozens of gummy bears for pennies each.
- Quick set: The mixture firms up in the fridge in about 30–60 minutes, so you can snack fast.
- Flavor freedom: Use any Jell-O flavor, mix and match, or layer colors for fun looks.
- No special equipment needed: Silicone bear molds help, but you can also use a small pan and cut cubes.
Ingredients
- 1 box (3 oz) flavored gelatin (any Jell-O flavor you love)
- 2 packets (about 2 tablespoons) unflavored gelatin for firm, chewy texture
- 1/2 cup cold water to bloom the gelatin
- 1/4 cup additional water or fruit juice for extra flavor and easy pouring
- 1–2 tablespoons granulated sugar or honey (optional, adjust to taste)
- 1–2 teaspoons lemon juice to brighten flavor and balance sweetness
- Neutral oil or nonstick spray to lightly grease molds (optional)
Tools: small saucepan, whisk, heatproof measuring cup with spout, silicone gummy bear molds (or a parchment-lined loaf pan), dropper or squeeze bottle (optional).
How to Make Homemade Jello Gummies
- Prep the molds: Place clean silicone molds on a sheet pan for stability. Lightly mist with nonstick spray, then dab off excess with a paper towel so you don’t taste oil.
- Bloom the gelatin: In a small saucepan off heat, whisk together flavored gelatin and unflavored gelatin. Add 1/2 cup cold water and let it sit 3–5 minutes until it looks thick and grainy. This prevents lumps later.
- Warm gently: Set the pan over low heat. Add the extra 1/4 cup water or juice and the sugar or honey if using. Whisk slowly until the mixture turns clear and smooth, 3–5 minutes. Do not boil. Keep the heat low so the gummies set right and keep their color.
- Finish the flavor: Turn off heat. Whisk in lemon juice. Skim any foam from the top with a spoon so you get shiny gummies.
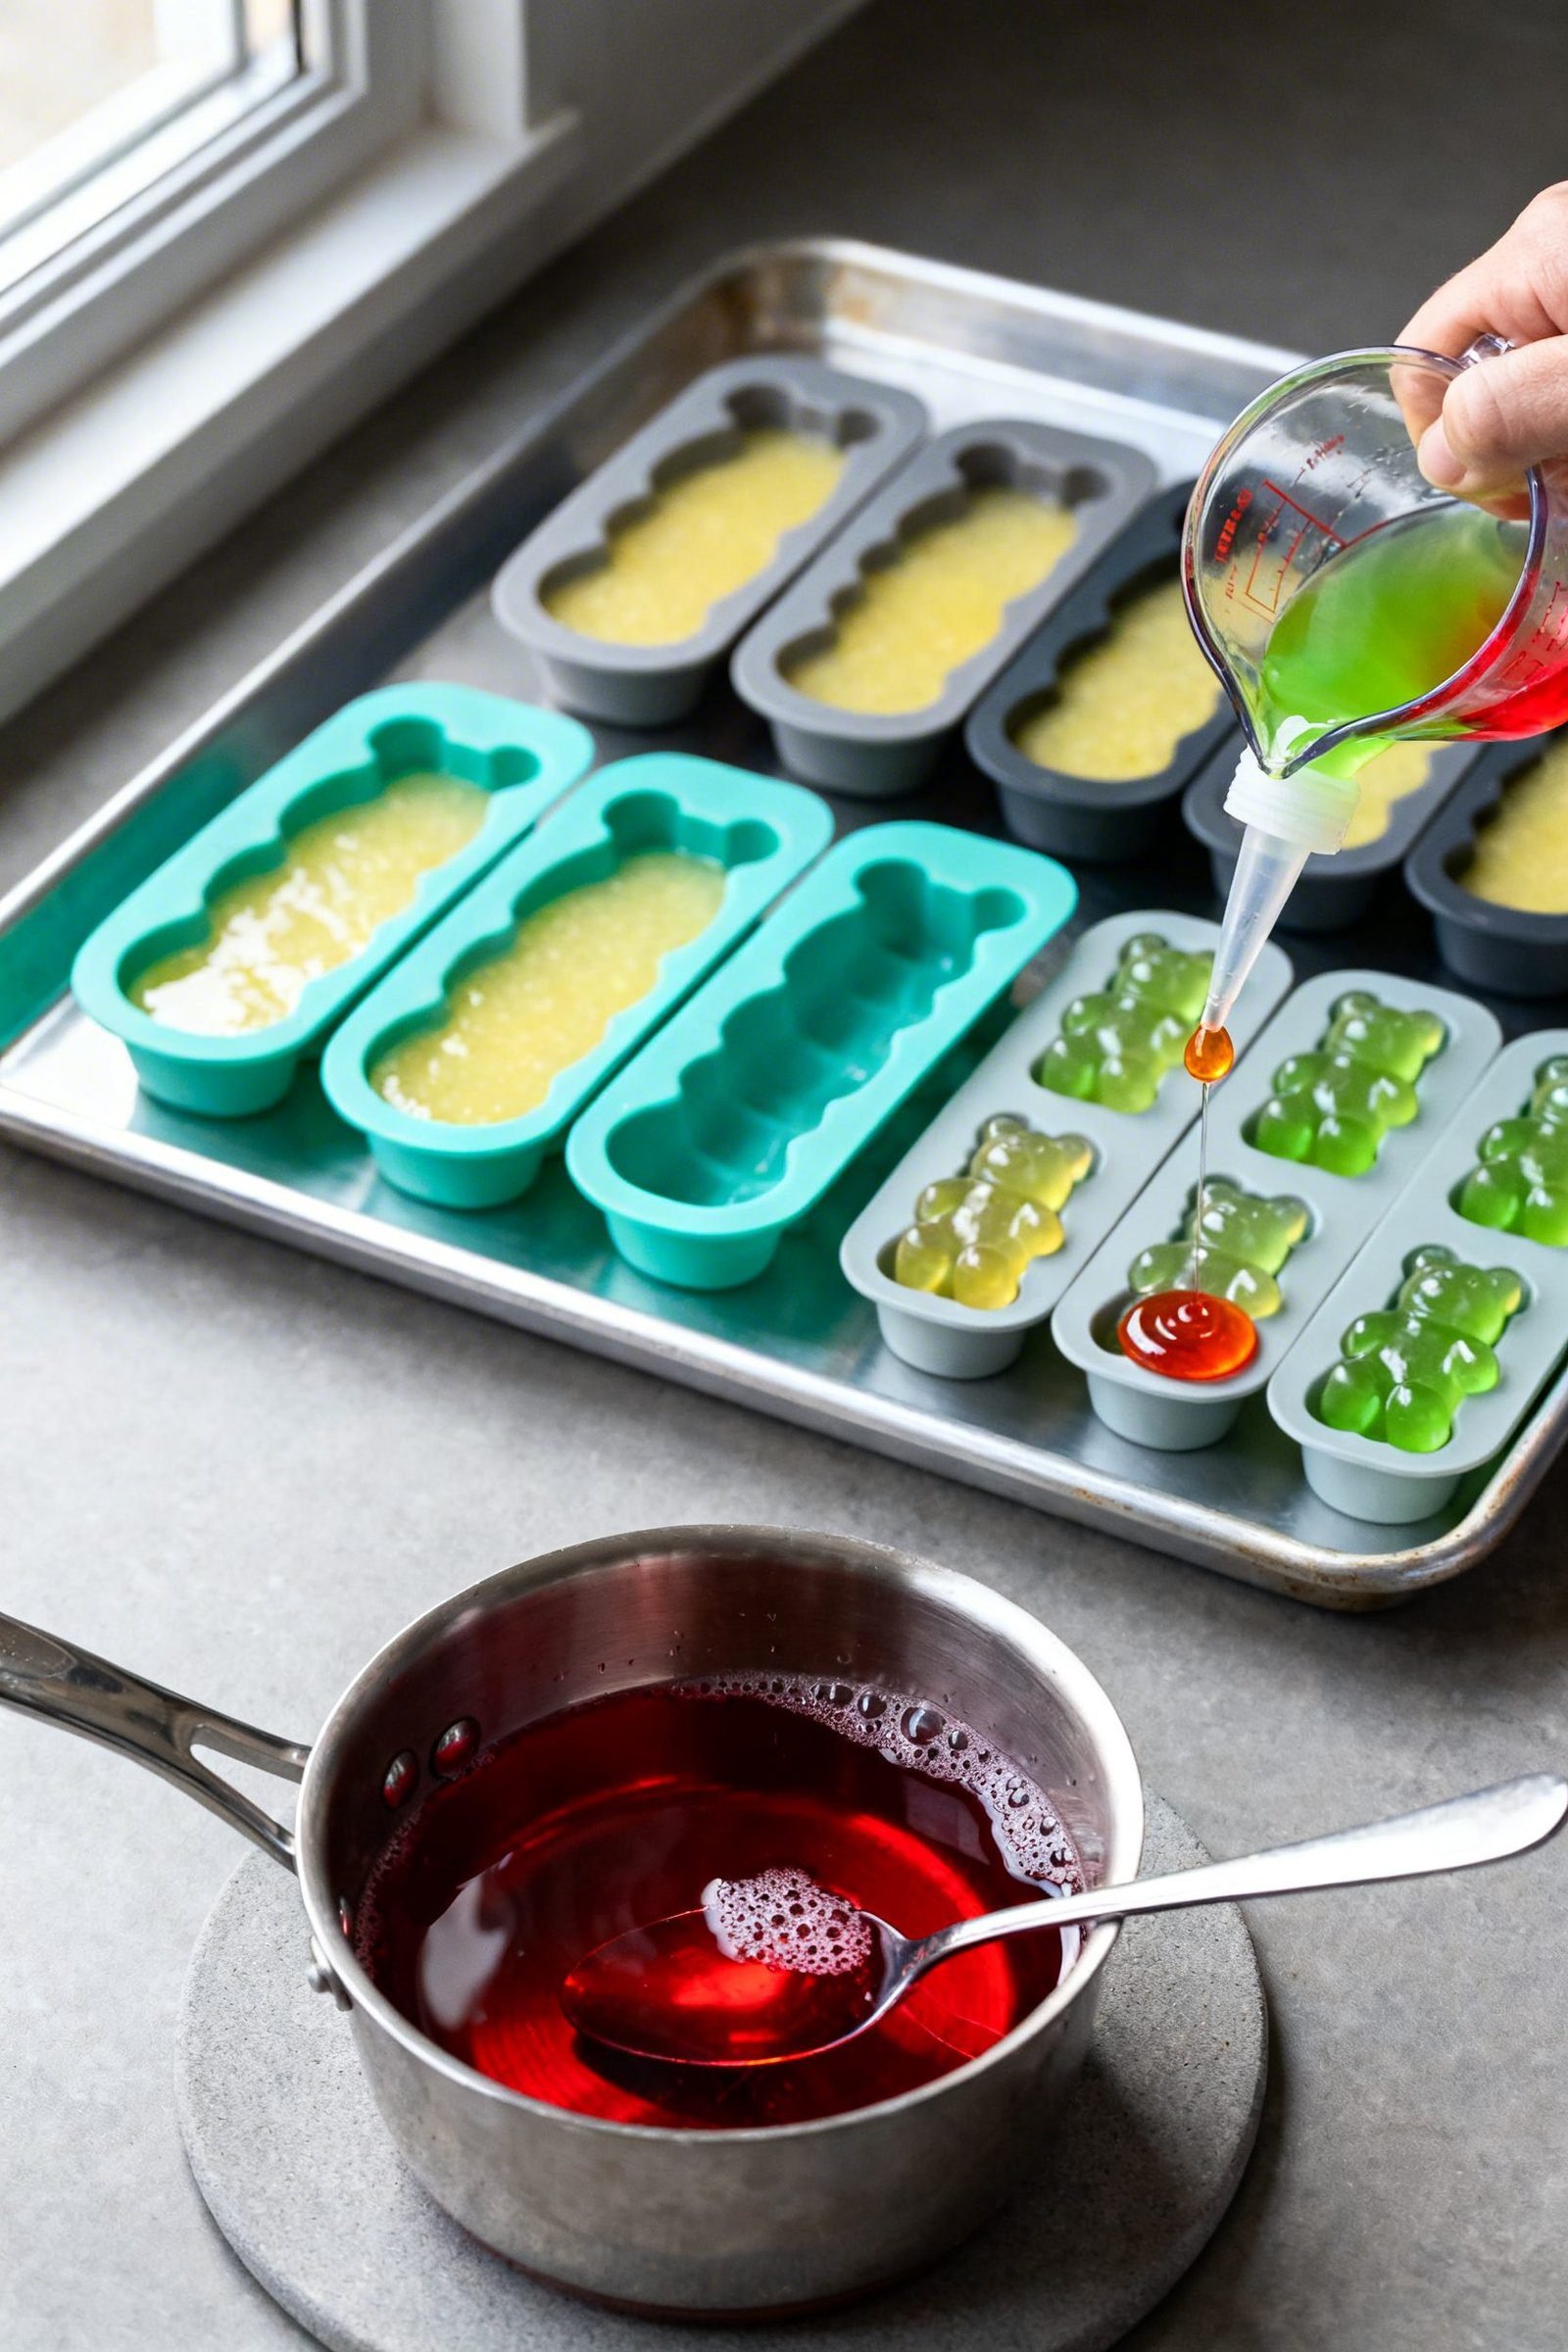
- Fill the molds: Transfer the warm liquid to a spouted cup or squeeze bottle. Carefully fill each cavity to the top. A dropper works great for tiny bear molds.
- Chill to set: Move the tray to the fridge and chill 30–60 minutes, until firm and bouncy to the touch.
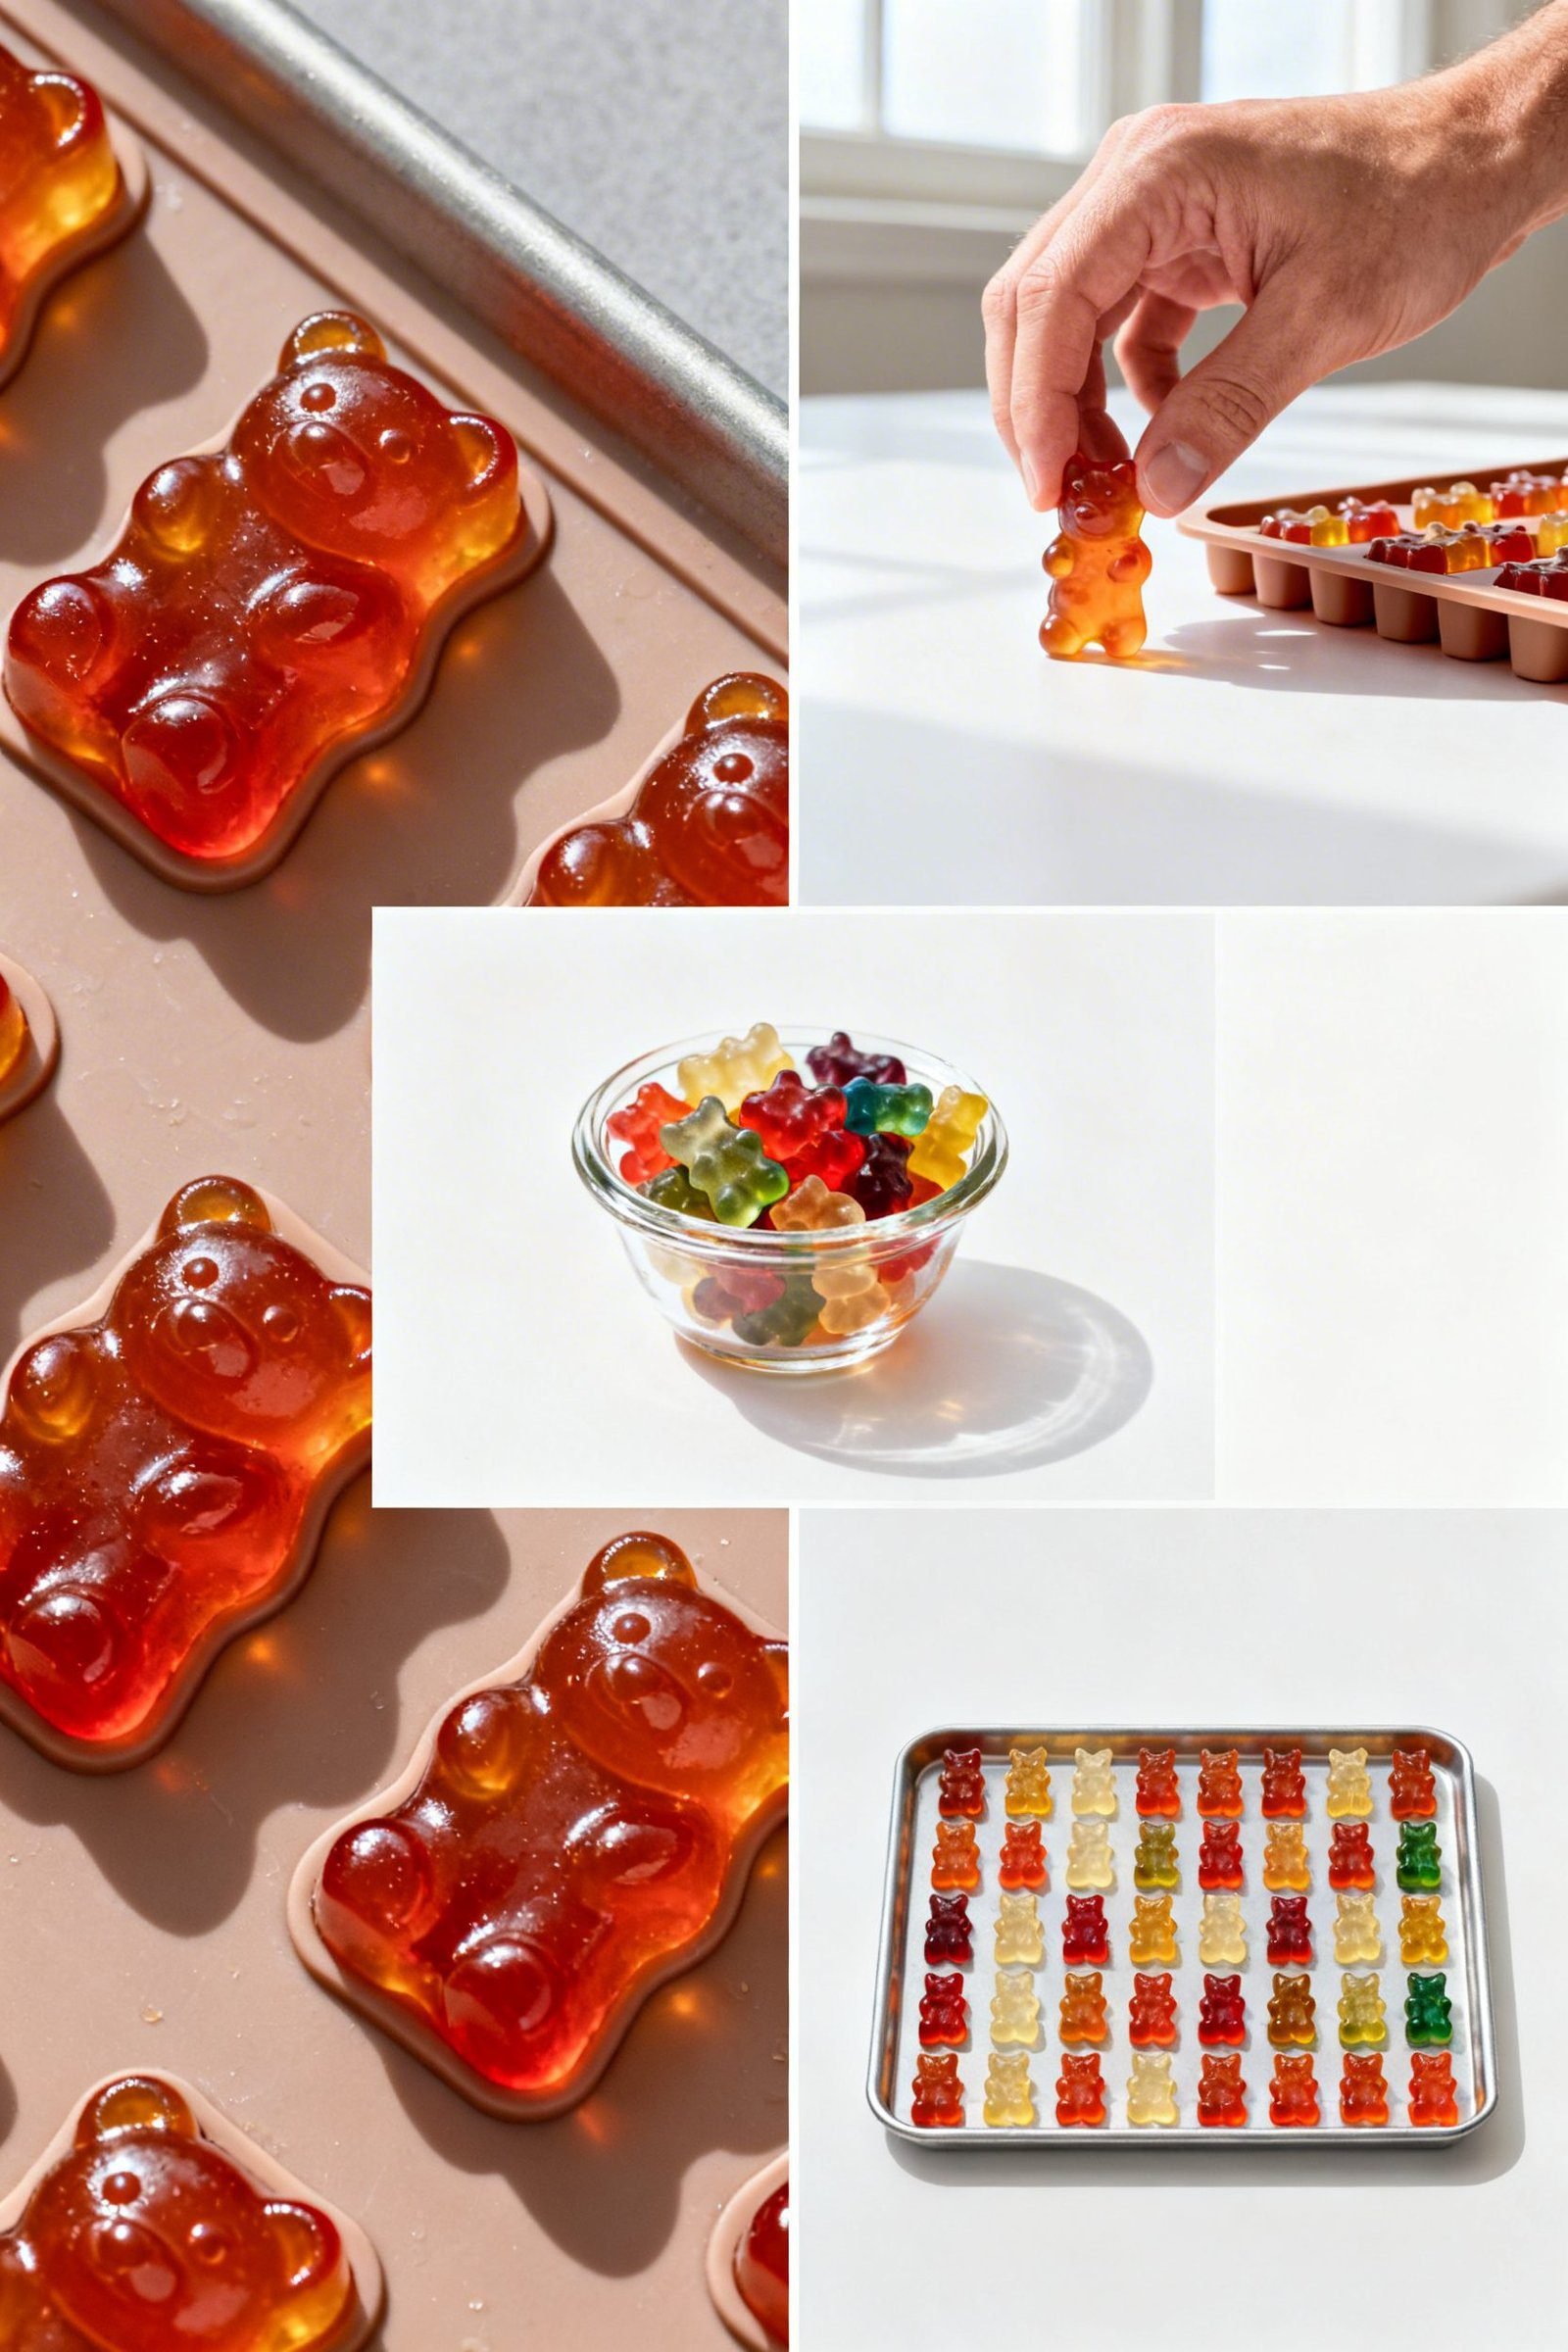
- Unmold: Gently press the back of each cavity to pop gummies out. If they feel sticky, chill 10 more minutes and try again.
- Optional sugar toss: For a candy-shop finish, toss gummies in a small amount of superfine sugar just before serving. Note that sugar coating will dissolve overnight, so do this right before you eat them.
How to Store Your Homemade Gummies
- Refrigerator: Keep gummies in an airtight container for up to 1 week. Line the container with parchment and layer gummies with parchment in between to avoid sticking.
- Room temp (short-term): For a day or two, store in a cool, dry spot away from sunlight. Warmer rooms can soften them.
- To prevent sticking: Lightly dust with cornstarch, then shake off excess. This keeps surfaces dry without adding sweetness.
- Freezer: Not recommended. Freezing changes the texture and can cause weeping when thawed.
Benefits of Making Gummies at Home
- Costs less: One batch makes several handfuls for the price of a single store-bought pack.
- Custom flavors: Create combos you never see in stores, like raspberry-lime or peach-lemonade.
- Control sweetness: Add more or less sugar to suit your taste.
- Diet-friendly swaps: Use sugar-free gelatin or fruit juice as desired.
- Fun project: Kids love filling molds and choosing colors. It’s quick, colorful, and rewarding.
What to Avoid for Perfect Gummies
- Don’t boil the mixture: High heat weakens gelatin and leads to cloudy or rubbery gummies.
- Don’t skip blooming: Dry gelatin clumps if you add it straight to hot liquid.
- Don’t add fresh pineapple, kiwi, or papaya juice: Their enzymes break down gelatin and prevent setting unless pasteurized.
- Don’t rush unmolding: Warm gummies tear. Chill fully for a clean release.
- Don’t over-oil molds: Excess oil leaves a slick taste. Use the lightest mist and blot.
Flavor Variations to Try
Juice-Forward Gummies
- Use 3/4 cup juice total (not fresh pineapple/kiwi/papaya). Add 2–3 tablespoons sugar if needed. Keep the same amount of unflavored gelatin for firmness.
Sour Gummies
- Add 1–2 teaspoons citric acid after heating, off the stove. Start small, taste, and increase for more pucker.
Layered Colors
- Make two flavors. Fill molds halfway with the first color and chill 10–15 minutes. Top with the second color and chill until set.
Sugar-Free Option
- Swap in sugar-free flavored gelatin and sweeten to taste with your favorite zero-calorie sweetener. Keep heat low to protect sweetener flavor.
Fruit Bite Add-Ins
- Mini chopped berries work in larger molds. Pat fruit dry first so gummies set cleanly.
FAQ
Why do my gummies feel too soft?
Add a bit more unflavored gelatin next time (an extra 1–2 teaspoons). Also check that you didn’t boil the mixture.
Can I make these without molds?
Yes. Pour the mixture into a parchment-lined loaf pan, chill, then cut into small squares with a sharp knife.
How do I make them extra glossy?
Skim the foam before pouring and avoid vigorous whisking. A super light mist of neutral oil on molds also helps shine.
Do they need to stay refrigerated?
Not strictly, but refrigeration keeps the texture snappy and prevents stickiness, especially in warm kitchens.
Why didn’t my gummies set?
Common issues: skipped blooming, boiled mixture, or fresh enzyme-rich juices. Use pasteurized juices and keep heat low.
Conclusion
Homemade gummy bears check every box: easy, inexpensive, and wildly customizable. With a balanced mix of flavored and unflavored gelatin, gentle heat, and a quick chill, you’ll get chewy, bright candies that taste better than store-bought. Make a single flavor, go bold with layers, or add a sour kick—once you nail this base recipe, your candy jar stays full and your budget stays happy.
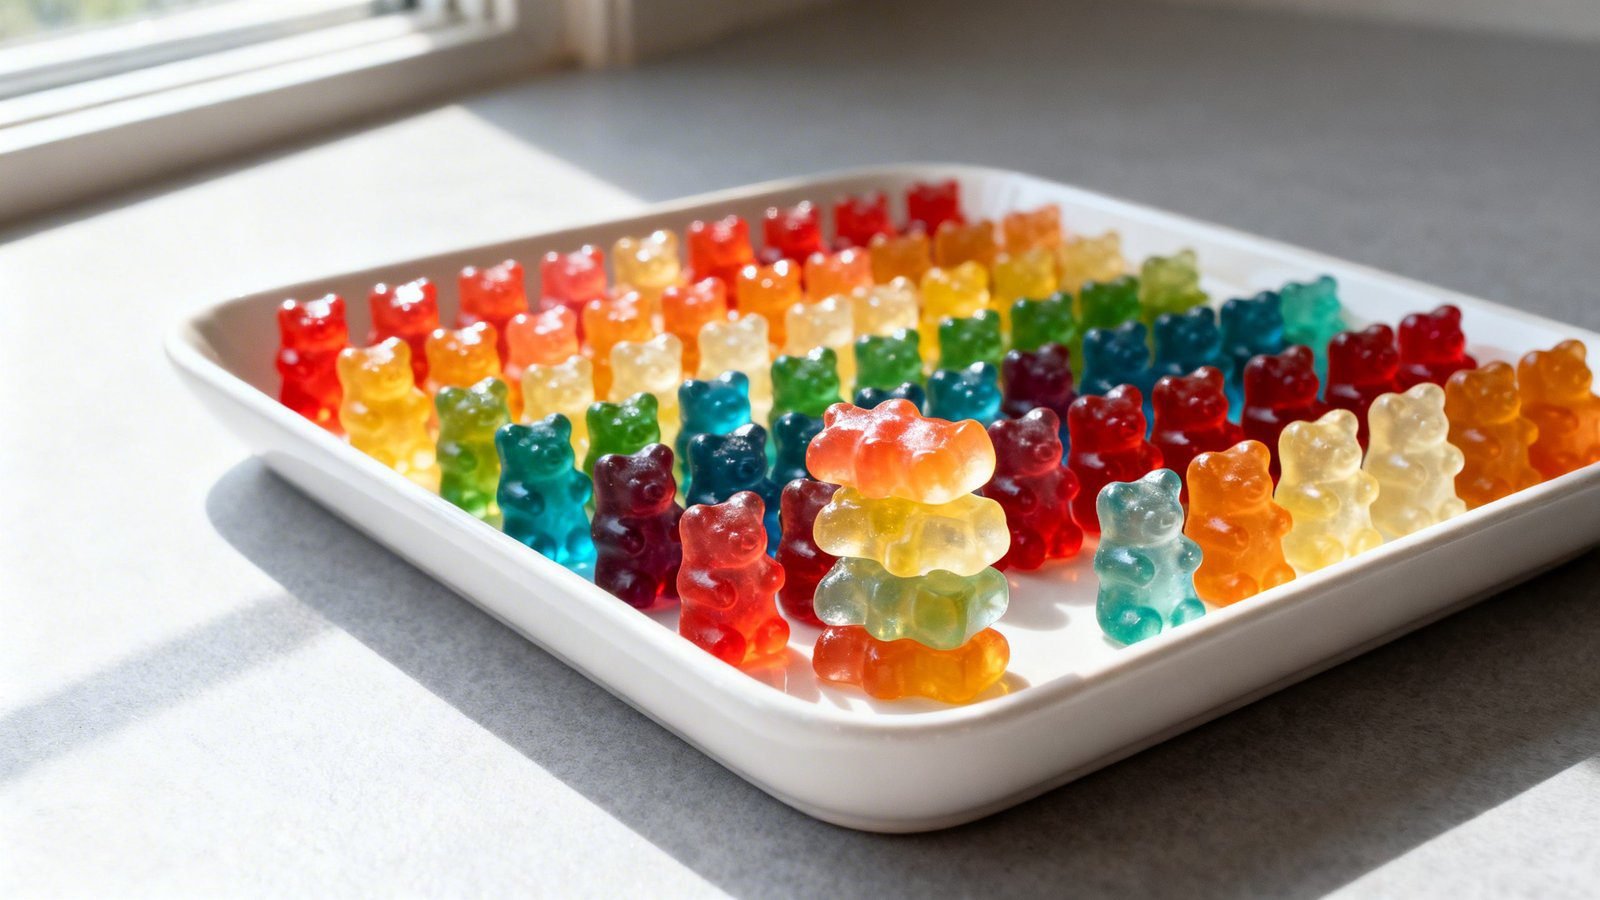
Budget-Friendly Homemade Jello Gummy Bears
Chewy, customizable gummy bears made with flavored and unflavored gelatin that set quickly and cost a fraction of store-bought.
Ingredients
- 1 box (3 oz) flavored gelatin (any Jell-O flavor)
- 2 packets (about 2 tablespoons) unflavored gelatin
- ½ cup cold water (to bloom)
- ¼ cup additional water or fruit juice
- 1–2 tablespoons granulated sugar or honey (optional)
- 1–2 teaspoons lemon juice
- Neutral oil or nonstick spray (optional, for lightly greasing molds)
Instructions
- Place clean silicone molds on a sheet pan and lightly mist with nonstick spray; blot excess.
- Off heat, whisk flavored and unflavored gelatin together in a small saucepan. Add ½ cup cold water and let bloom 3–5 minutes until thick and grainy.
- Set over low heat. Add the additional ¼ cup water or juice and sugar or honey if using. Whisk gently until clear and smooth, 3–5 minutes; do not boil.
- Remove from heat and whisk in lemon juice. Skim any foam from the surface.
- Transfer mixture to a spouted cup or squeeze bottle and carefully fill mold cavities to the top.
- Refrigerate 30–60 minutes until firm and bouncy.
- Unmold by gently pressing the back of each cavity. If sticky, chill 10 more minutes and try again.
- Optional: Toss gummies in a small amount of superfine sugar just before serving.